
Parth Shah is an evergreen freelance writer covering how-tos, app guides, comparisons, listicles, and troubleshooting guides on Android, iOS, Windows, Mac, and smart TV platforms. He has over five years of experience and has covered 1,500+ articles on GuidingTech and Android Police. In his free time, you will see him binge-watching Netflix shows, reading books, and traveling. Learn about our Tech Review Board
Updated May 27, 2024 Reviewed & Updated by Afam Onyimadu Expertise: Microsoft, R, SQLAfam has been a content writer with Guiding Tech Media since August 2023. However, his experience in tech writing dates back to 2018, when he worked as a freelance writer for Make Tech Easier. Over the years, he has grown a reputation for publishing quality guides, reviews, tips, and explainer articles. His work is featured on top websites, including Technical Ustad, Windows Report, and Next of Windows. He has training as a Microsoft Certified Professional and has covered more Microsoft-related guides on these platforms. Learn about our Tech Review Board
If you have trouble saving the latest document changes, you should temporarily save a local copy on your PC. That way, you will not lose recent edits and can continue your work.
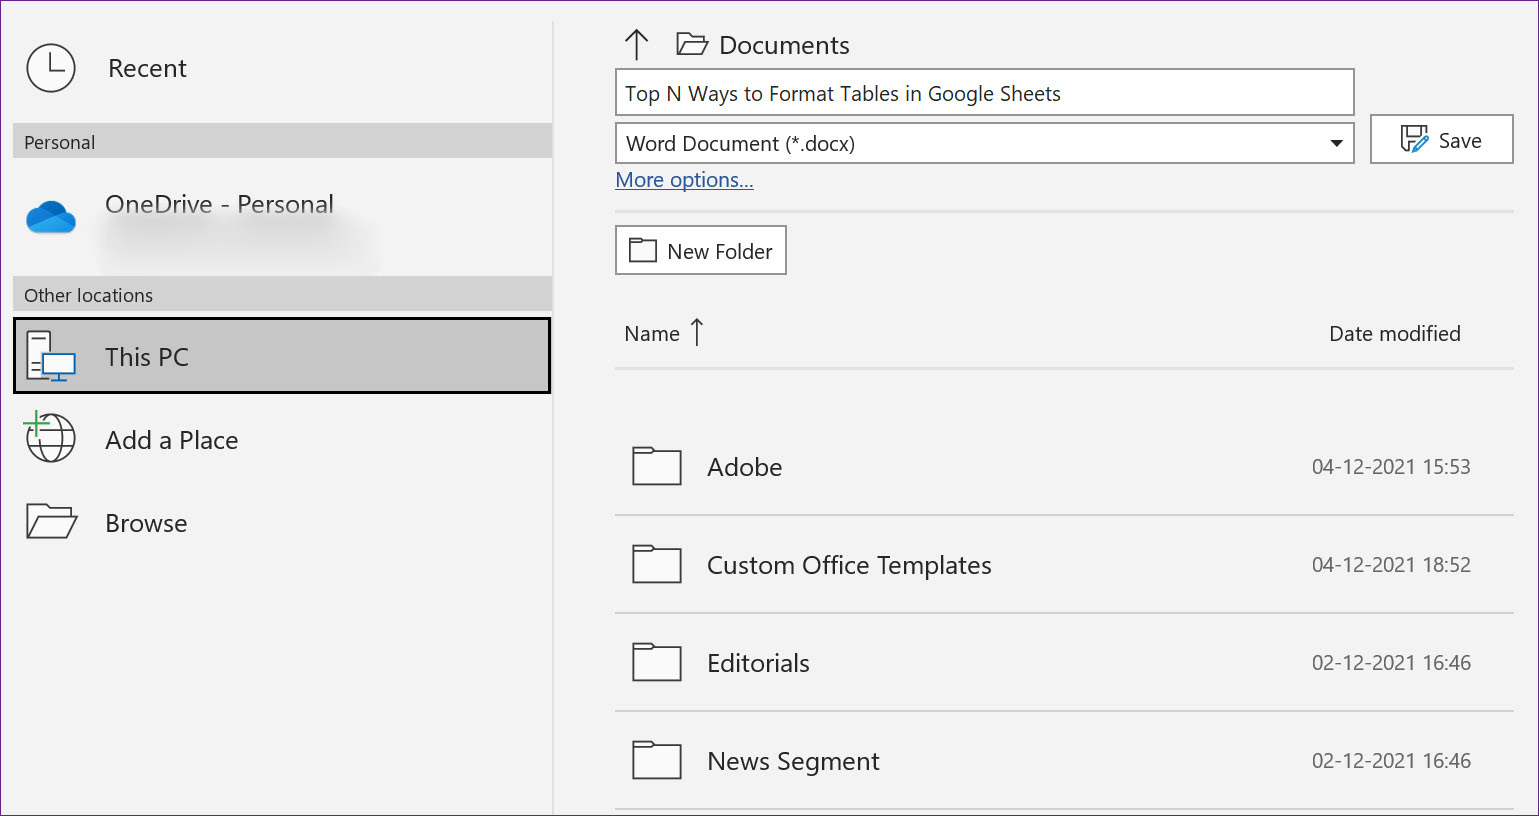
Step 1: From Microsoft Word, select File at the top and click on Save a Copy.
Step 2: Select This PC from the left sidebar and save the document to a folder.
Microsoft Word might get stuck when saving if the default template file is damaged or corrupted. Of course, you’ll have no clue, but you can follow the steps below to recreate the template file.
Step 1: Press the Windows + R keys and open the Run menu.
Step 2: Type %appdata% and hit the Enter key.

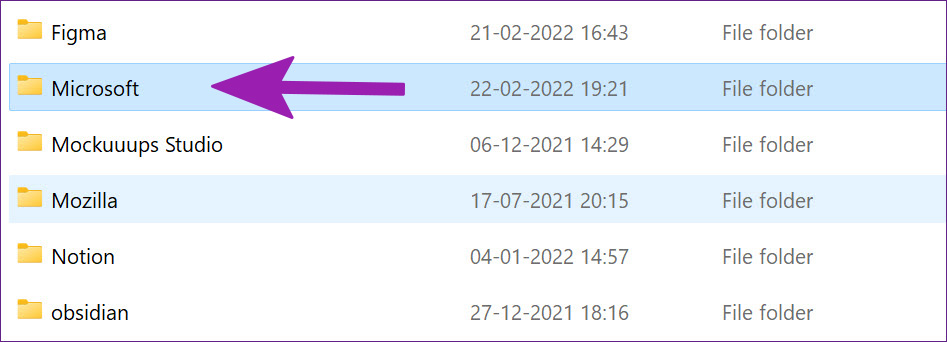
Step 3: Double-click on the Microsoft folder to open it.
Step 4: Double-click the Templates folder in the Microsoft folder and open it.

Step 5: Right-click on the file named Normal, rename it to OldNormal, and close the menu.

Try using Word again, and you won’t see the issue of software getting stuck on saving.
Add-ins often help to make specific repetitive tasks easy, but they can sometimes get in the way. A problematic add-in might mess up the saving process in Microsoft Word. You might want to revisit installed add-ins and disable irrelevant ones.
Step 1: From a Word document, select File at the top.
Step 2: Select Options at the bottom.

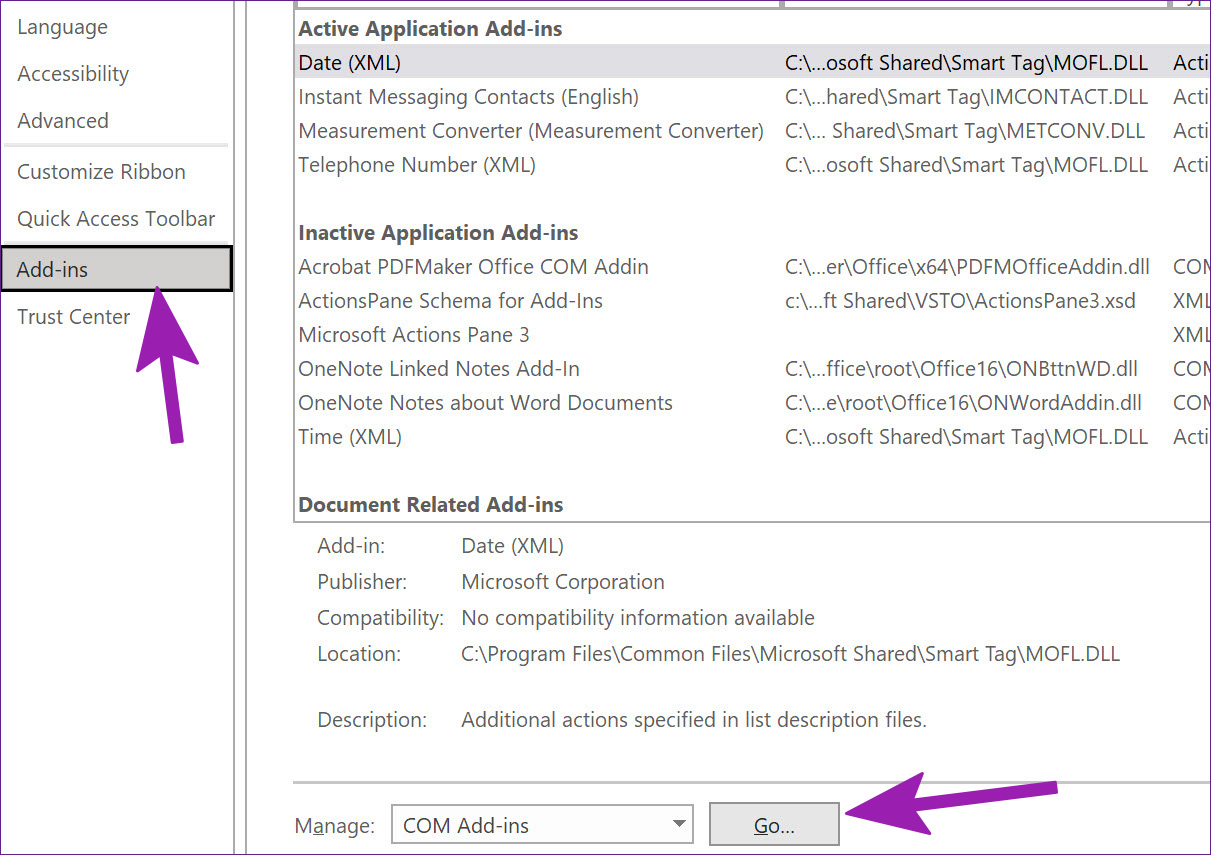
Step 3: Click on the Add-ins option from the left column. Next, hit the Go button beside the Manage drop-down menu.
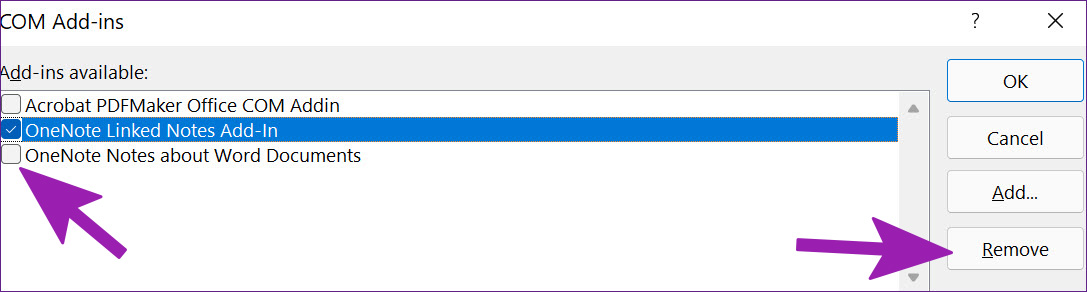
Step 4: Uncheck the boxes to disable unnecessary add-ins. You can also remove them entirely, then hit OK.
Try saving the file again and see if the issue persists.
If Microsoft Word is not responding or is stuck on saving, you must force close the app and recover the unsaved document.
Step 1: Right-click on the Windows key and open Task Manager.
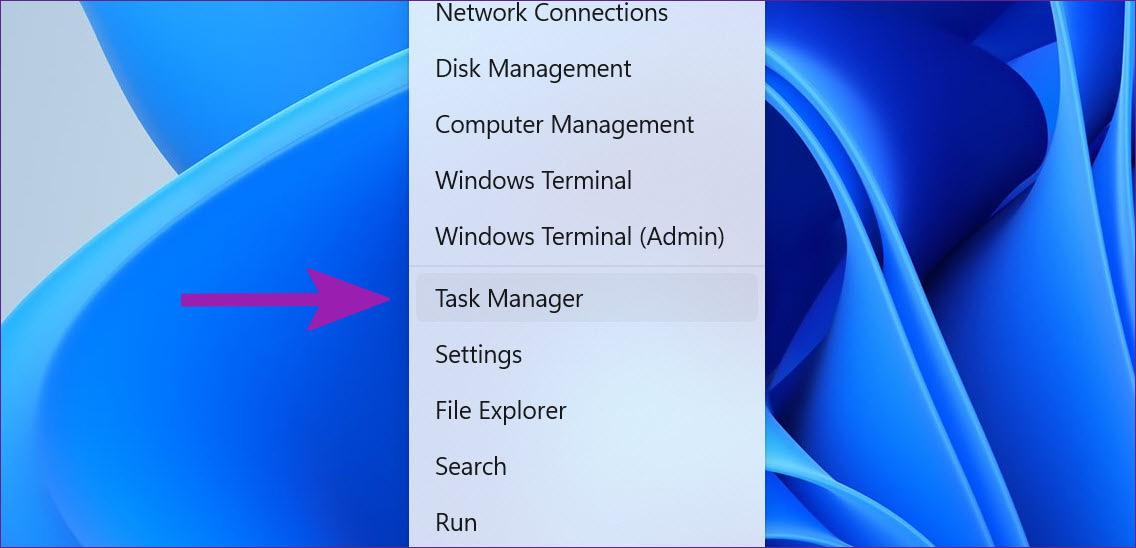
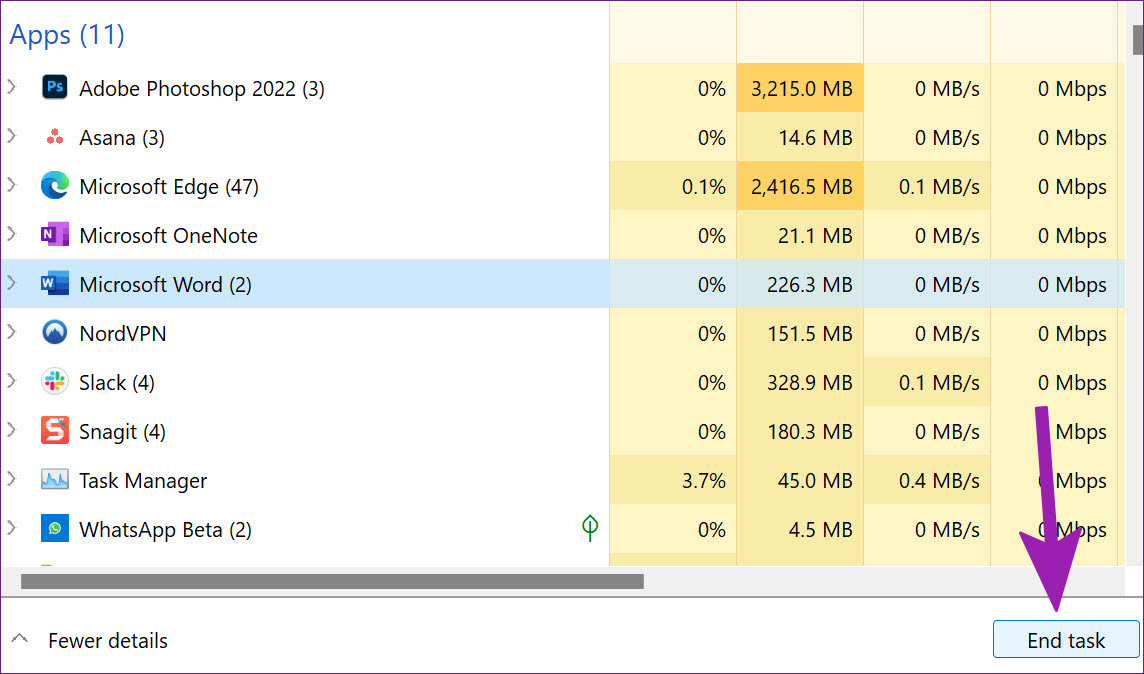
Step 2: Find Microsoft Word from the list and select End Task at the bottom.
Step 3: Open Microsoft Word and try opening the same document.
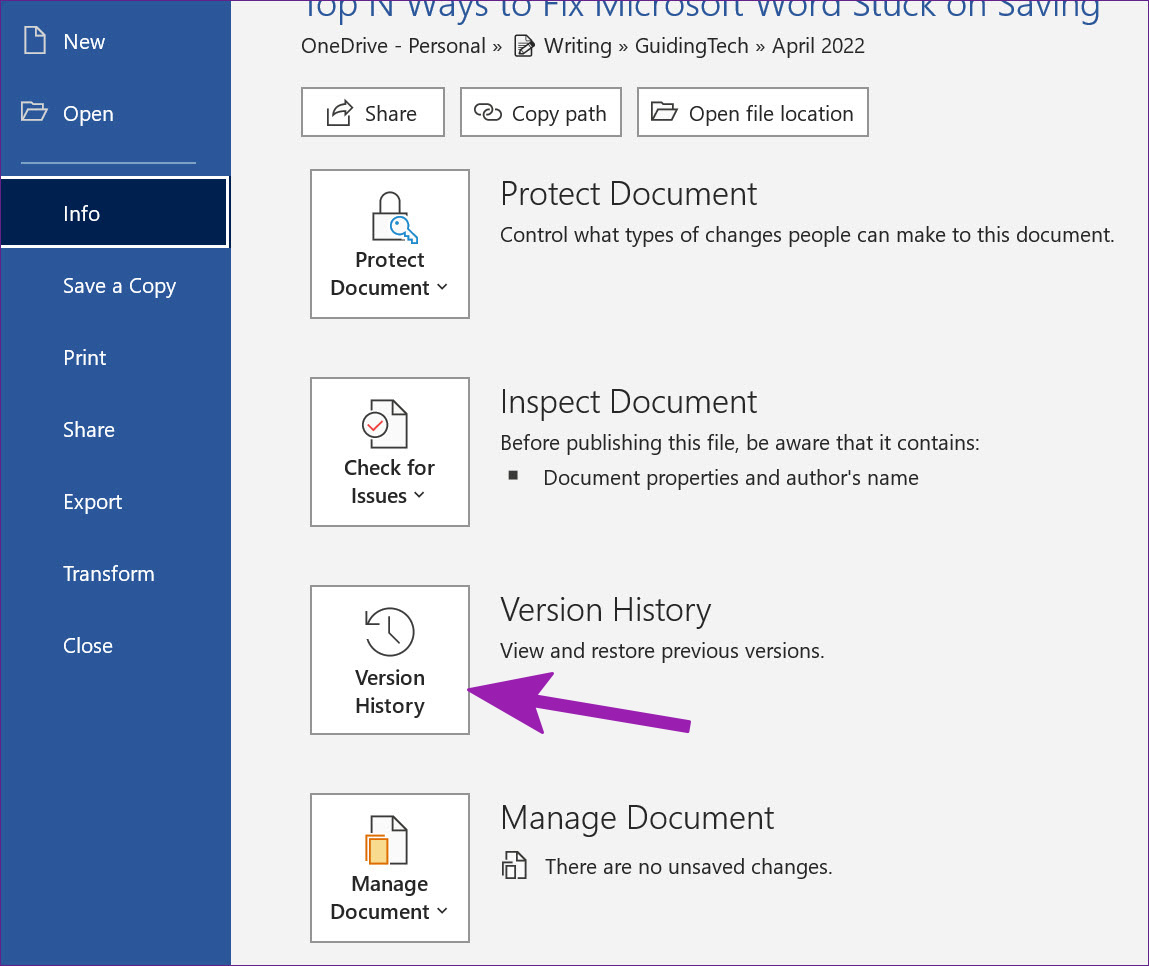
Step 4: The software automatically asks you to restore the previous version with recent edits. If you don’t see such an option, click on File at the top > open the Info menu > select Version History > open the previous version from the list.
Try to save it again to OneDrive or on a PC.
If none of the above fixes worked, you may be dealing with bad configuration or deeper corruption within the Microsoft app. You may use its repair option.
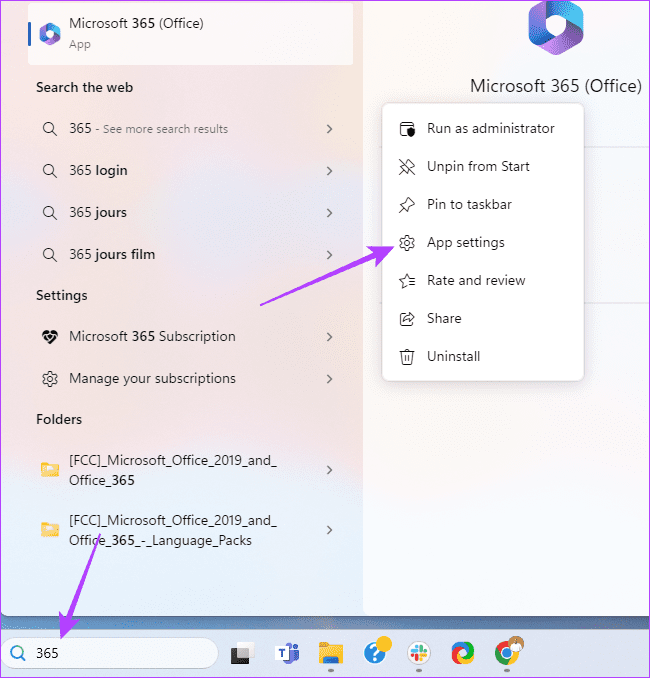
Step 1: Click the magnifying lens on the Taskbar, type 365, right-click on the app, and click App settings.
Step 2: Click the Repair button and follow any instructions to complete the process.